


Creating Tables in Reflex
Explore the main uses of Reflex's Table component with a database. Build CRUD apps, data dashboards, and admin panels with Python-native tables.
 Tom Gotsman
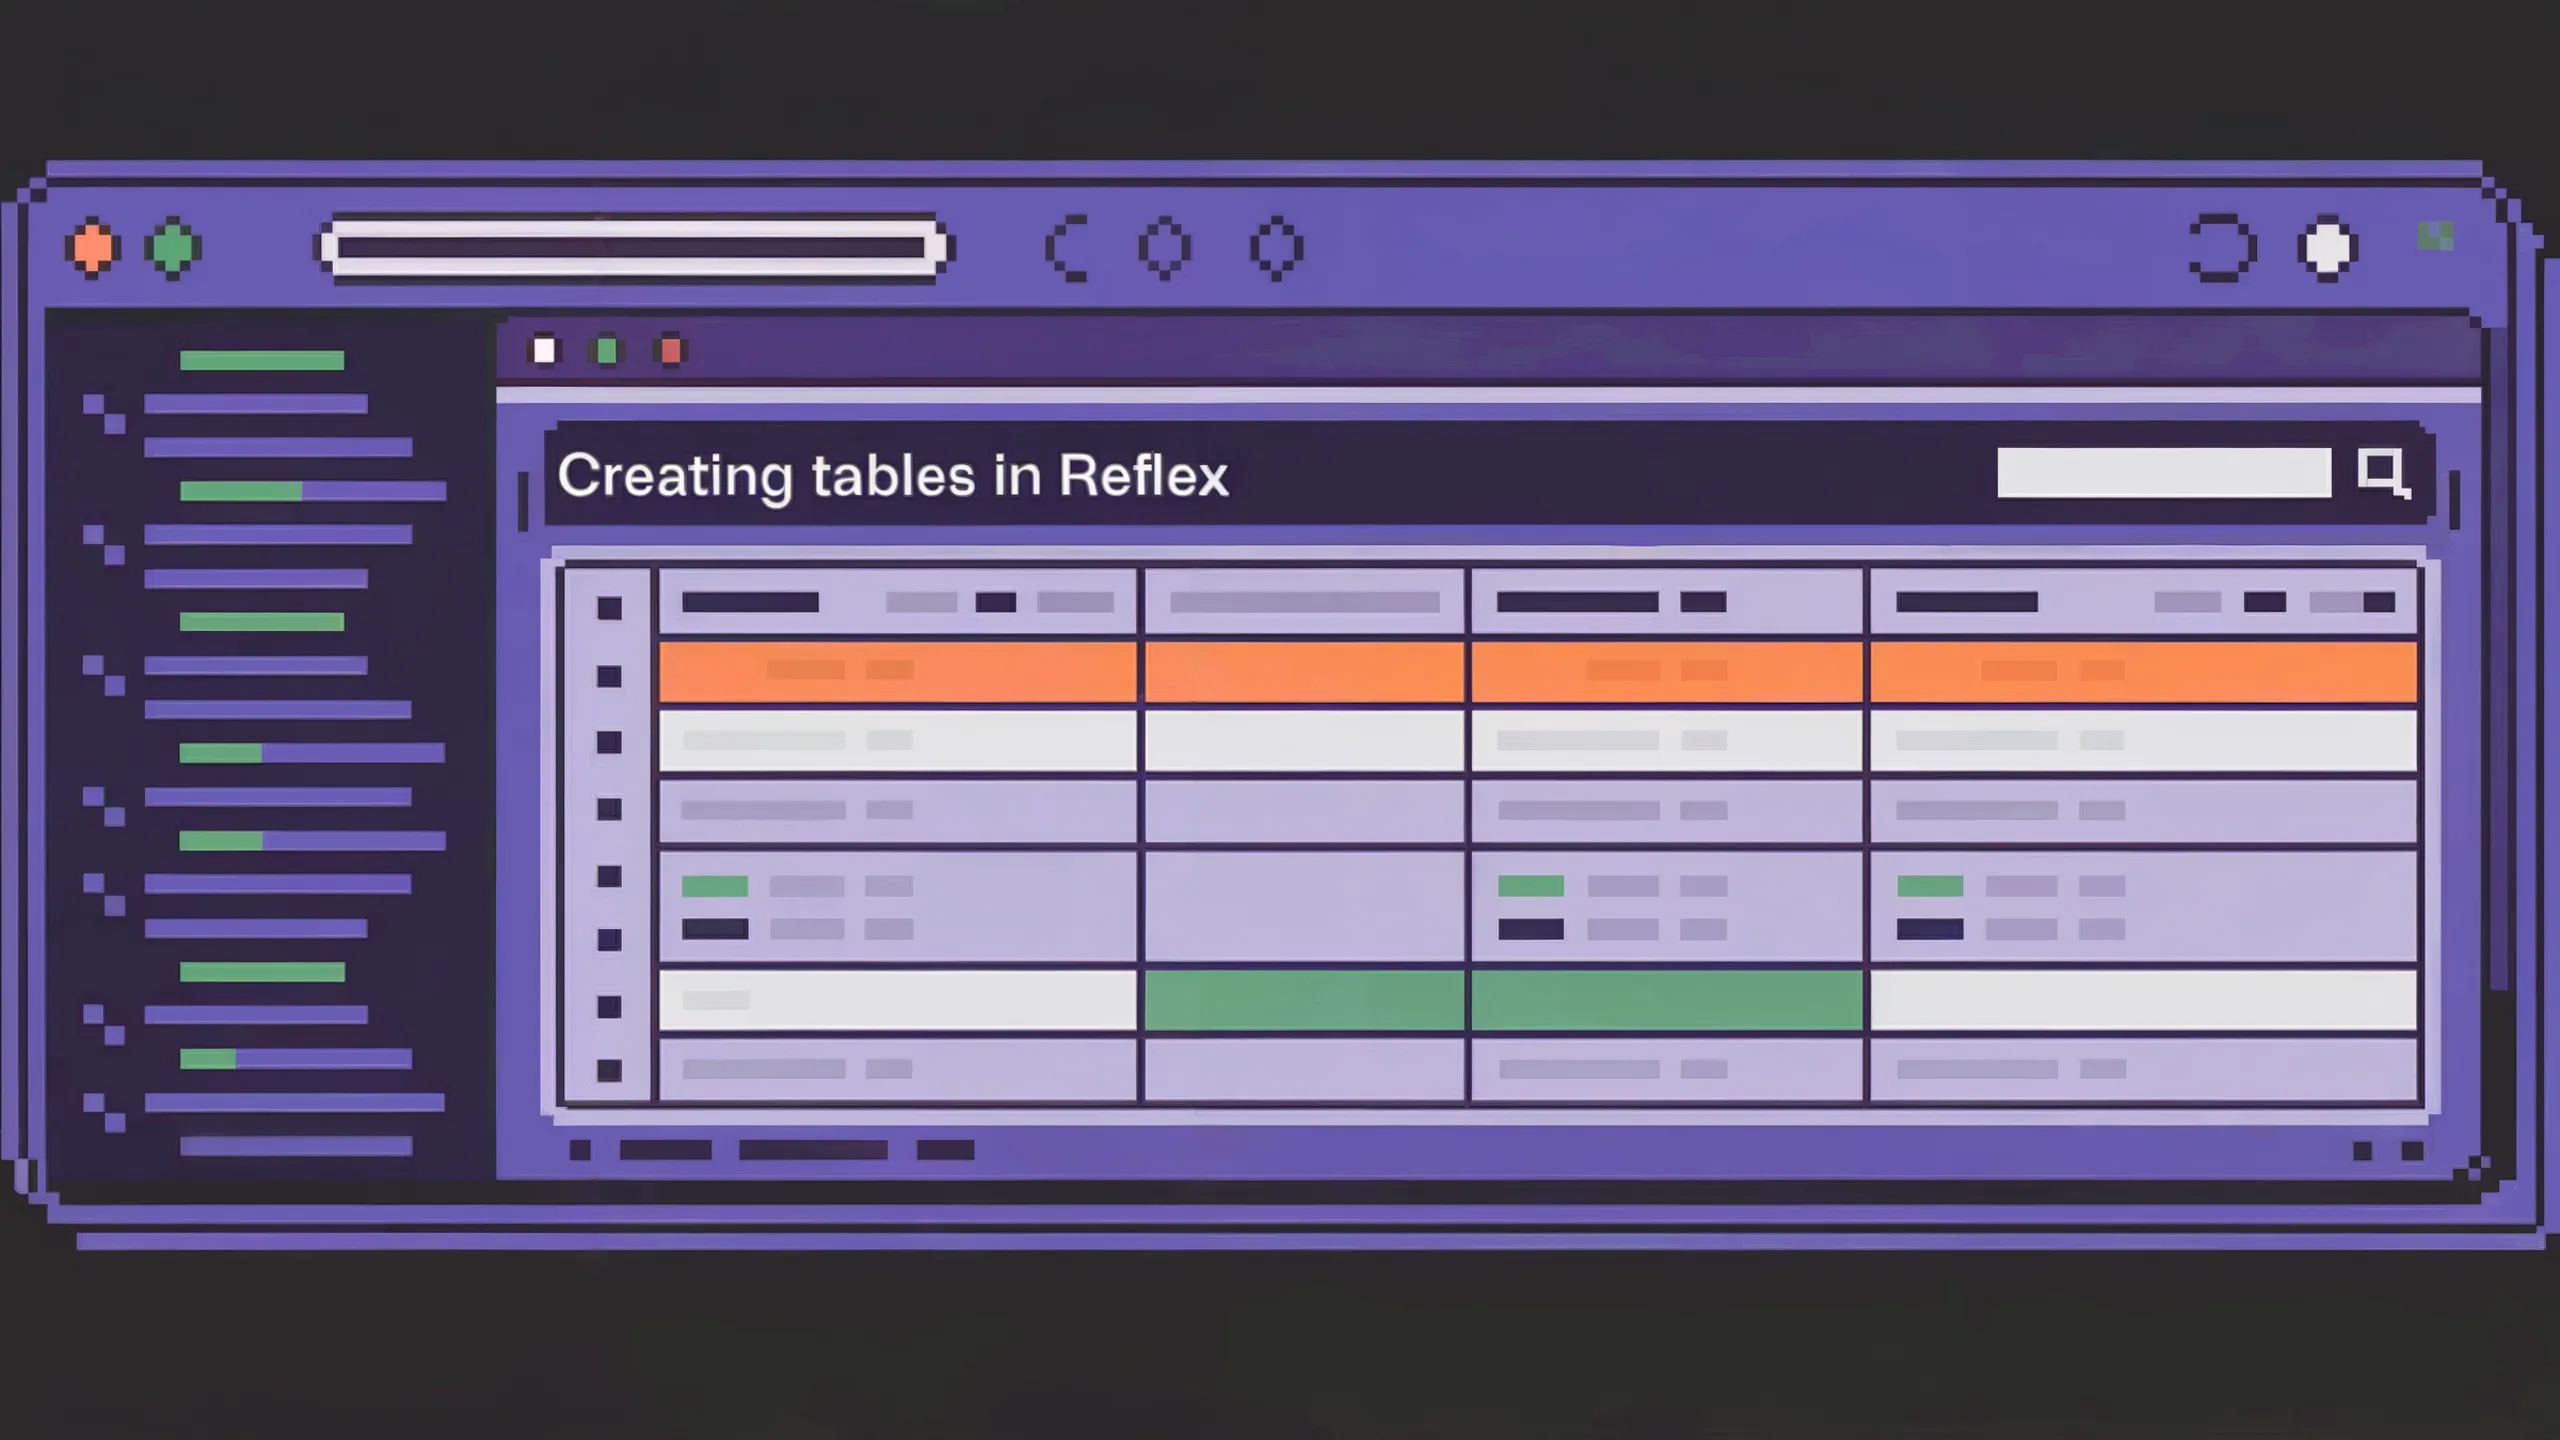
The table component is one of the most useful components for visualizing, editing and working with data. In Reflex we have a built in rx.table component. This table efficiently displays data and allows embedding of various Reflex components, such as buttons, dropdowns, checkboxes, or forms, directly within table cells.
In this blog we will link the data in our rx.table to an external database. The live version of the app we create in this blog can be found here: https://customer-data-app.reflex.run. The first thing that it is necessary to understand are Tables.
Defining the Customer Table
Tables are database objects that contain all the data in a database. To create a table in Reflex make a class that inherits from rx.Model.
A Customer table is defined below that inherits from rx.Model. It has fields such as name and email.
To learn more about databases in Reflex check out the documentation here.
Loading Data into the Table
Now that we have our database created it is necessary to load our data from the database. The load_entries event handler in State does a database query and returns all the data in the database to the State variable self.users.
The show_customer function takes in a user and renders it in a rx.table.row. All the attributes of the Customer class are rendered out as rx.table.cell components in the row. The user.status uses an rx.match to handle multiple conditions and their corresponding components. Learn more about rx.match here. The status_badge function takes in a status and renders it out in an rx.badge.
The main_table function renders an rx.table component. The _header_cell function renders a text and an icon in an rx.table.column_header_cell. This renders out the names of the Customer model fields as the titles of the table columns.
The State.users var is iterated through using rx.foreach in this code rx.table.body(rx.foreach(State.users, show_customer)). The show_customer function is used to render each item in the State.users var.
Lastly the State.load_entries event handler is called when the rx.table is rendered using the on_mount event trigger.
class State(rx.State):
"""The app state."""
def show_customer(user: Customer):
"""Show a customer in a table row."""
return rx.table.row(
rx.table.cell(user.name),
rx.table.cell(user.email),
rx.table.cell(user.phone),
rx.table.cell(user.address),
rx.table.cell(user.payments),
rx.table.cell(user.date),
rx.table.cell(
rx.match(
user.status,
("Delivered", status_badge("Delivered")),
("Pending", status_badge("Pending")),
("Cancelled", status_badge("Cancelled")),
status_badge("Pending")
)
),
)
def main_table():
return rx.table.root(
rx.table.header(
rx.table.row(
_header_cell("Name", "user"),
_header_cell("Email", "mail"),
_header_cell("Phone", "phone"),
_header_cell("Address", "home"),
_header_cell("Payments", "dollar-sign"),
_header_cell("Date", "calendar"),
_header_cell("Status", "truck"),
_header_cell("Actions", "cog"),
),
),
rx.table.body(rx.foreach(State.users, show_customer)),
on_mount=State.load_entries,
)
app = rx.App(
theme=rx.theme(appearance="light", has_background=True, radius="large", accent_color="grass"),
)
app.add_page(main_table)
```
this function has all styling removed to keep the code simpler and shorter
def add_customer_button() -> rx.Component:
return rx.dialog.root(
rx.dialog.trigger(
rx.button("Add Customer"),
),
rx.dialog.content(
rx.vstack(
rx.dialog.title(
"Add New Customer",
),
rx.dialog.description(
"Fill the form with the customer's info",
),
),
rx.flex(
rx.form.root(
rx.flex(
# Name
form_field(
"Name",
"Customer Name",
"text",
"name",
),
# Email
form_field(
"Email", "[email protected]", "email", "email"
),
# Phone
form_field(
"Phone",
"Customer Phone",
"tel",
"phone"
),
# Address
form_field(
"Address",
"Customer Address",
"text",
"address"
),
# Payments
form_field(
"Payment ($)",
"Customer Payment",
"number",
"payments"
),
# Status
rx.vstack(
rx.hstack(
rx.icon("truck", size=16, stroke_width=1.5),
rx.text("Status"),
),
rx.radio(
["Delivered", "Pending", "Cancelled"],
name="status",
direction="row",
as_child=True,
required=True,
),
),
direction="column",
),
rx.flex(
rx.dialog.close(
rx.button(
"Cancel",
),
),
rx.form.submit(
rx.dialog.close(
rx.button("Submit Customer"),
),
as_child=True,
),
),
on_submit=State.add_customer_to_db,
reset_on_submit=False,
),
),
),
)
class State(rx.State):
"""The app state."""
class State(rx.State):
"""The app state."""
def form_field(
label: str, placeholder: str, type: str, name: str, default_value: str = ""
- -> rx.Component:
return rx.form.field(
rx.flex(
rx.form.label(label),
rx.form.control(
rx.input(
placeholder=placeholder, type=type, default_value=default_value
),
as_child=True,
),
direction="column",
),
name=name,
)
this function has all styling removed to keep the code simpler and shorter
def add_customer_button() -> rx.Component:
return rx.dialog.root(
rx.dialog.trigger(
rx.button("Add Customer"),
),
rx.dialog.content(
rx.vstack(
rx.dialog.title(
"Add New Customer",
),
rx.dialog.description(
"Fill the form with the customer's info",
),
),
rx.flex(
rx.form.root(
rx.flex(
# Name
form_field(
"Name",
"Customer Name",
"text",
"name",
),
# Email
form_field(
"Email", "[email protected]", "email", "email"
),
# Phone
form_field(
"Phone",
"Customer Phone",
"tel",
"phone"
),
# Address
form_field(
"Address",
"Customer Address",
"text",
"address"
),
# Payments
form_field(
"Payment ($)",
"Customer Payment",
"number",
"payments"
),
# Status
rx.vstack(
rx.hstack(
rx.icon("truck", size=16, stroke_width=1.5),
rx.text("Status"),
),
rx.radio(
["Delivered", "Pending", "Cancelled"],
name="status",
direction="row",
as_child=True,
required=True,
),
),
direction="column",
),
rx.flex(
rx.dialog.close(
rx.button(
"Cancel",
),
),
rx.form.submit(
rx.dialog.close(
rx.button("Submit Customer"),
),
as_child=True,
),
),
on_submit=State.add_customer_to_db,
reset_on_submit=False,
),
),
),
)
```
class State(rx.State):
"""The app state."""
def update_customer_dialog(user):
return rx.dialog.root(
rx.dialog.trigger(
rx.button(
rx.text("Edit", size="3"),
on_click=lambda: State.get_user(user),
),
),
class State(rx.State):
"""The app state."""
class State(rx.State):
"""The app state."""
def show_customer(user: Customer):
"""Show a customer in a table row."""
ExpandCollapse
class State(rx.State):
"""The app state."""
ExpandCollapse
def update_customer_dialog(user):
return rx.dialog.root(
rx.dialog.trigger(
rx.button(
rx.text("Edit", size="3"),
on_click=lambda: State.get_user(user),
),
),
def show_customer(user: Customer):
"""Show a customer in a table row."""
ExpandCollapse
def main_table():
return rx.table.root(
```
from sqlmodel import select, asc, or_, func, cast, String
class State(rx.State):
"""The app state."""
ExpandCollapse
rx.select(
["name", "email", "phone", "address", "payments", "date", "status"],
placeholder="Sort By: Name",
on_change=lambda sort_value: State.sort_values(sort_value),
)
from sqlmodel import select, asc, or_, func, cast, String
class State(rx.State):
"""The app state."""
ExpandCollapse
rx.input(
placeholder="Search here...",
on_change=lambda value: State.filter_values(value),
)
from sqlmodel import select, asc, or_, func, cast, String
class State(rx.State):
"""The app state."""
ExpandCollapse
def main_table():
return rx.fragment(
rx.flex(
add_customer_button(),
rx.hstack(
rx.select(
["name", "email", "phone", "address", "payments", "date", "status"],
placeholder="Sort By: Name",
on_change=lambda sort_value: State.sort_values(sort_value),
),
rx.input(
placeholder="Search here...",
on_change=lambda value: State.filter_values(value),
),
),
),
rx.table.root(
```
More Posts

Explore new features and improvements in Reflex v0.6.0, including enhanced performance, better component APIs, and improved developer experience.
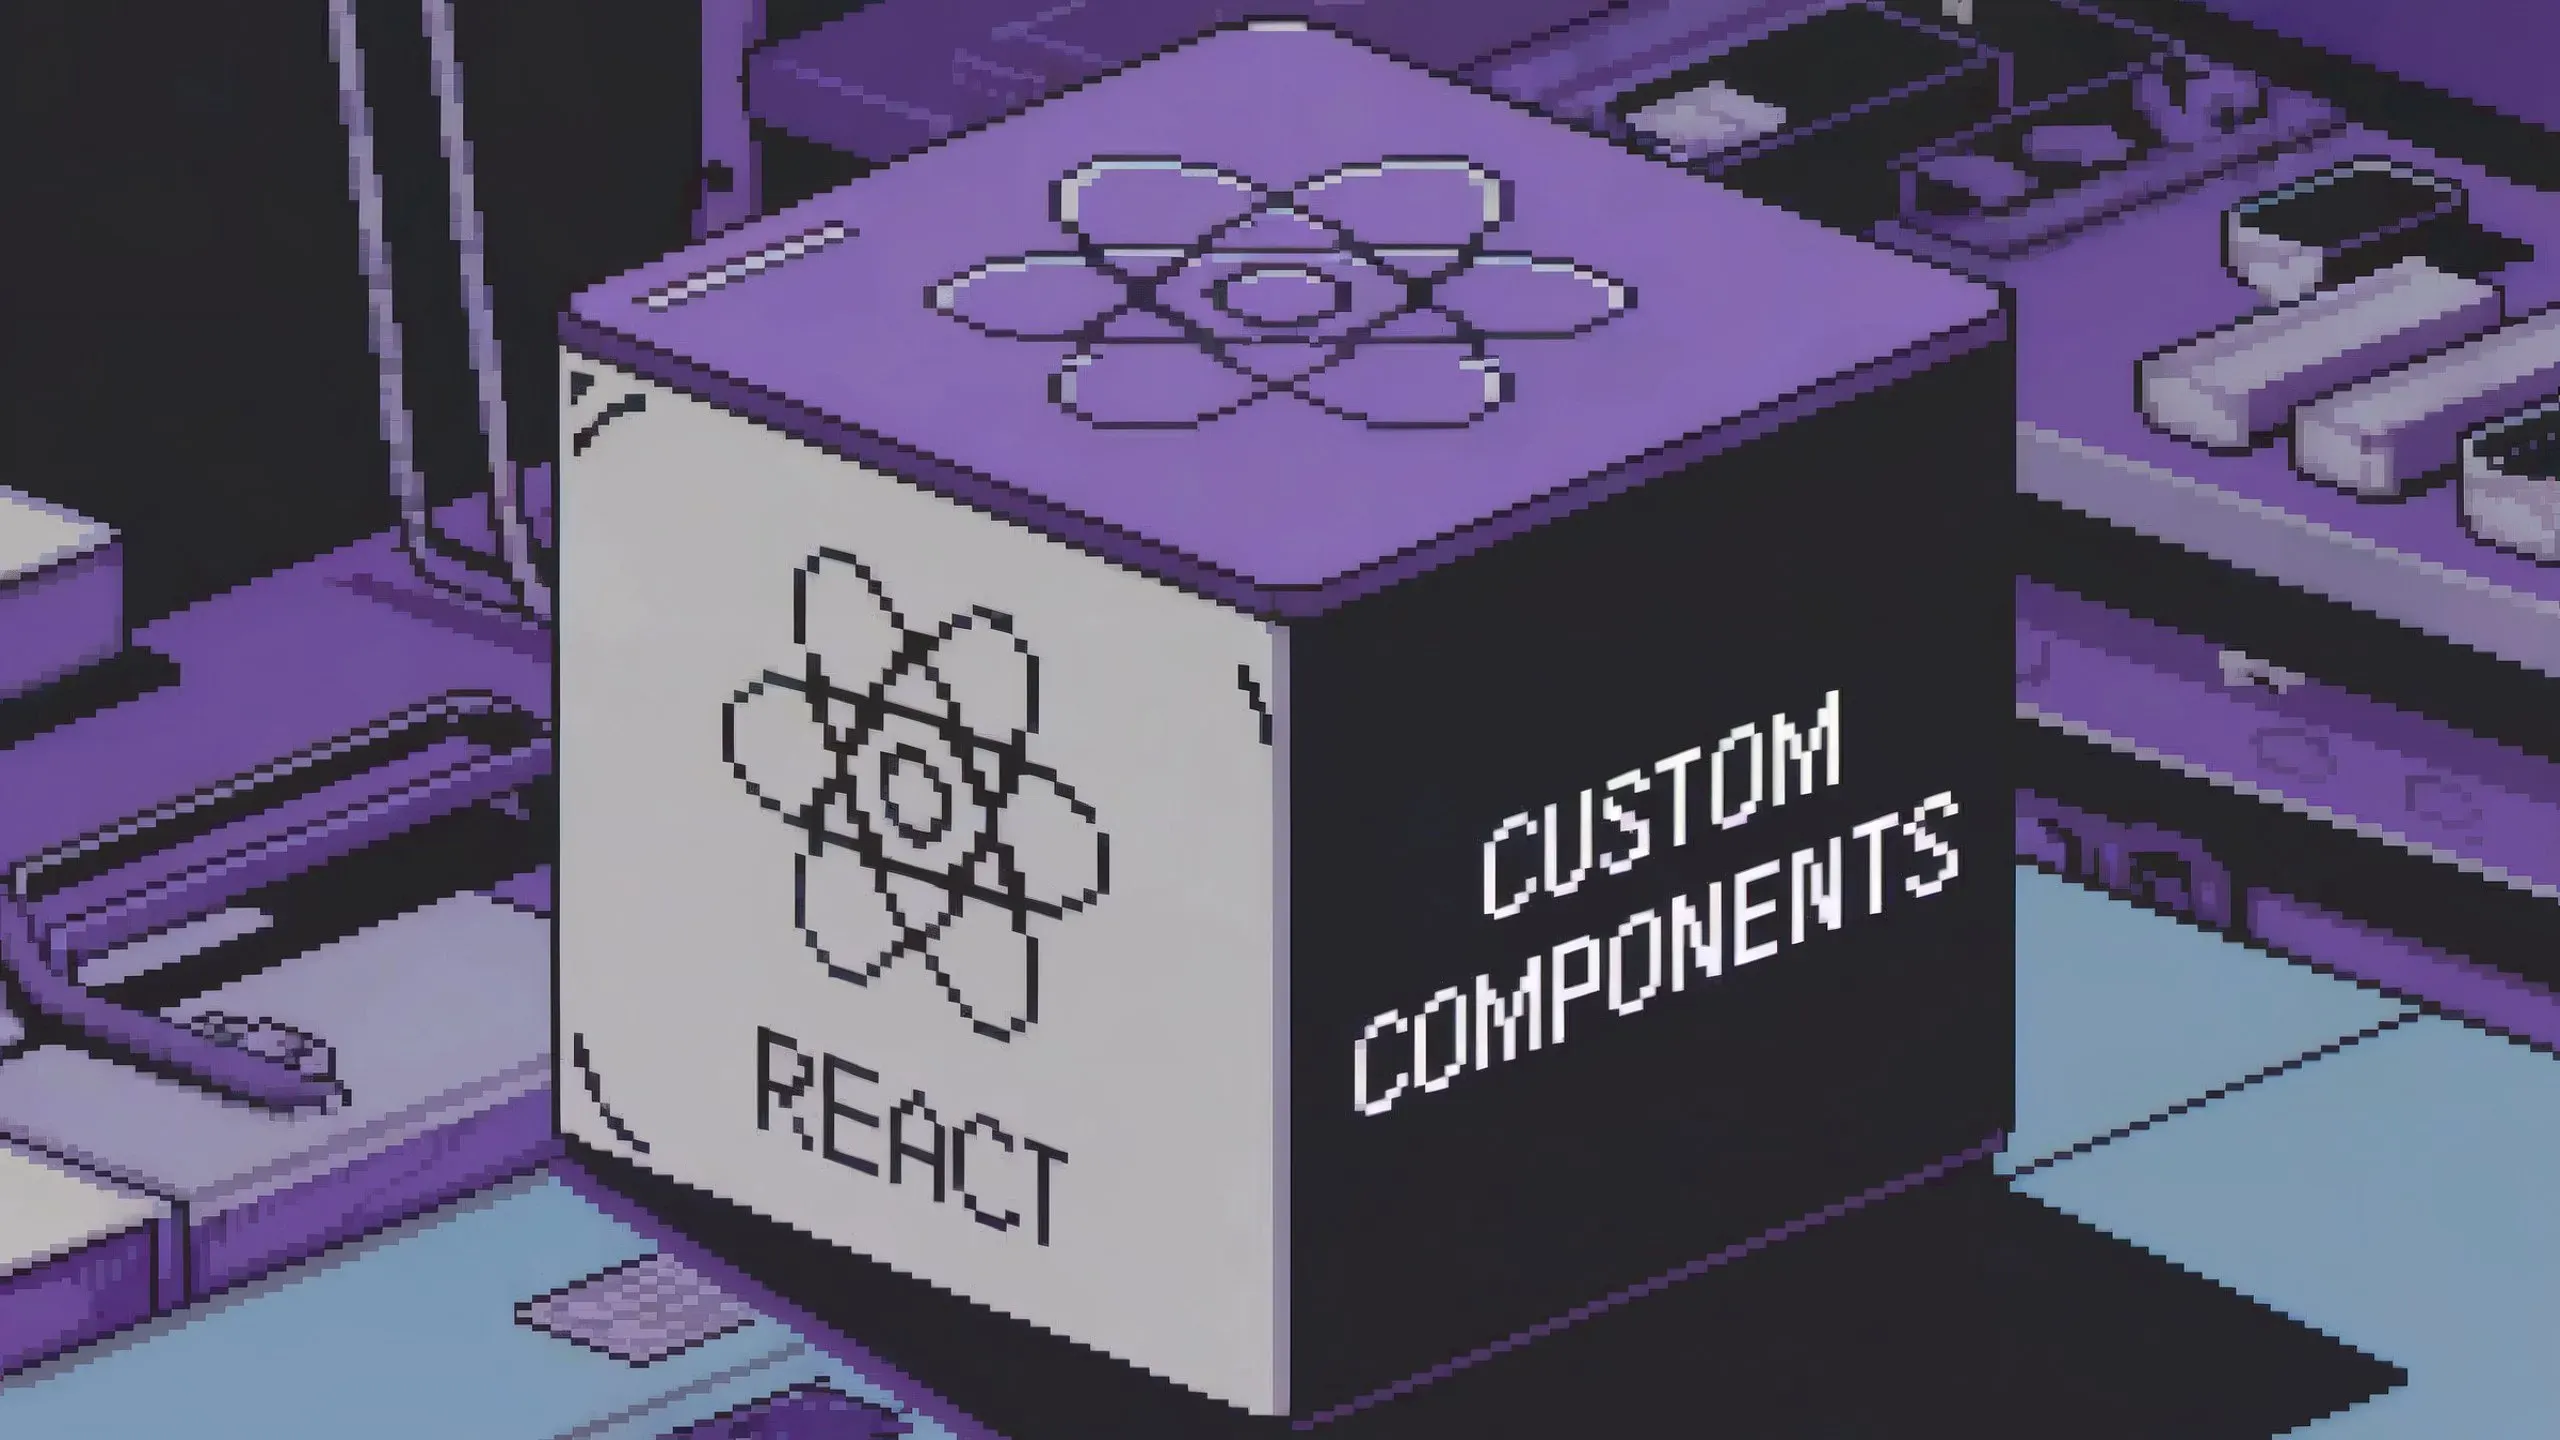
Announcing the Reflex custom component ecosystem. Build and share reusable components, wrap React libraries, and extend Reflex with your own Python components.
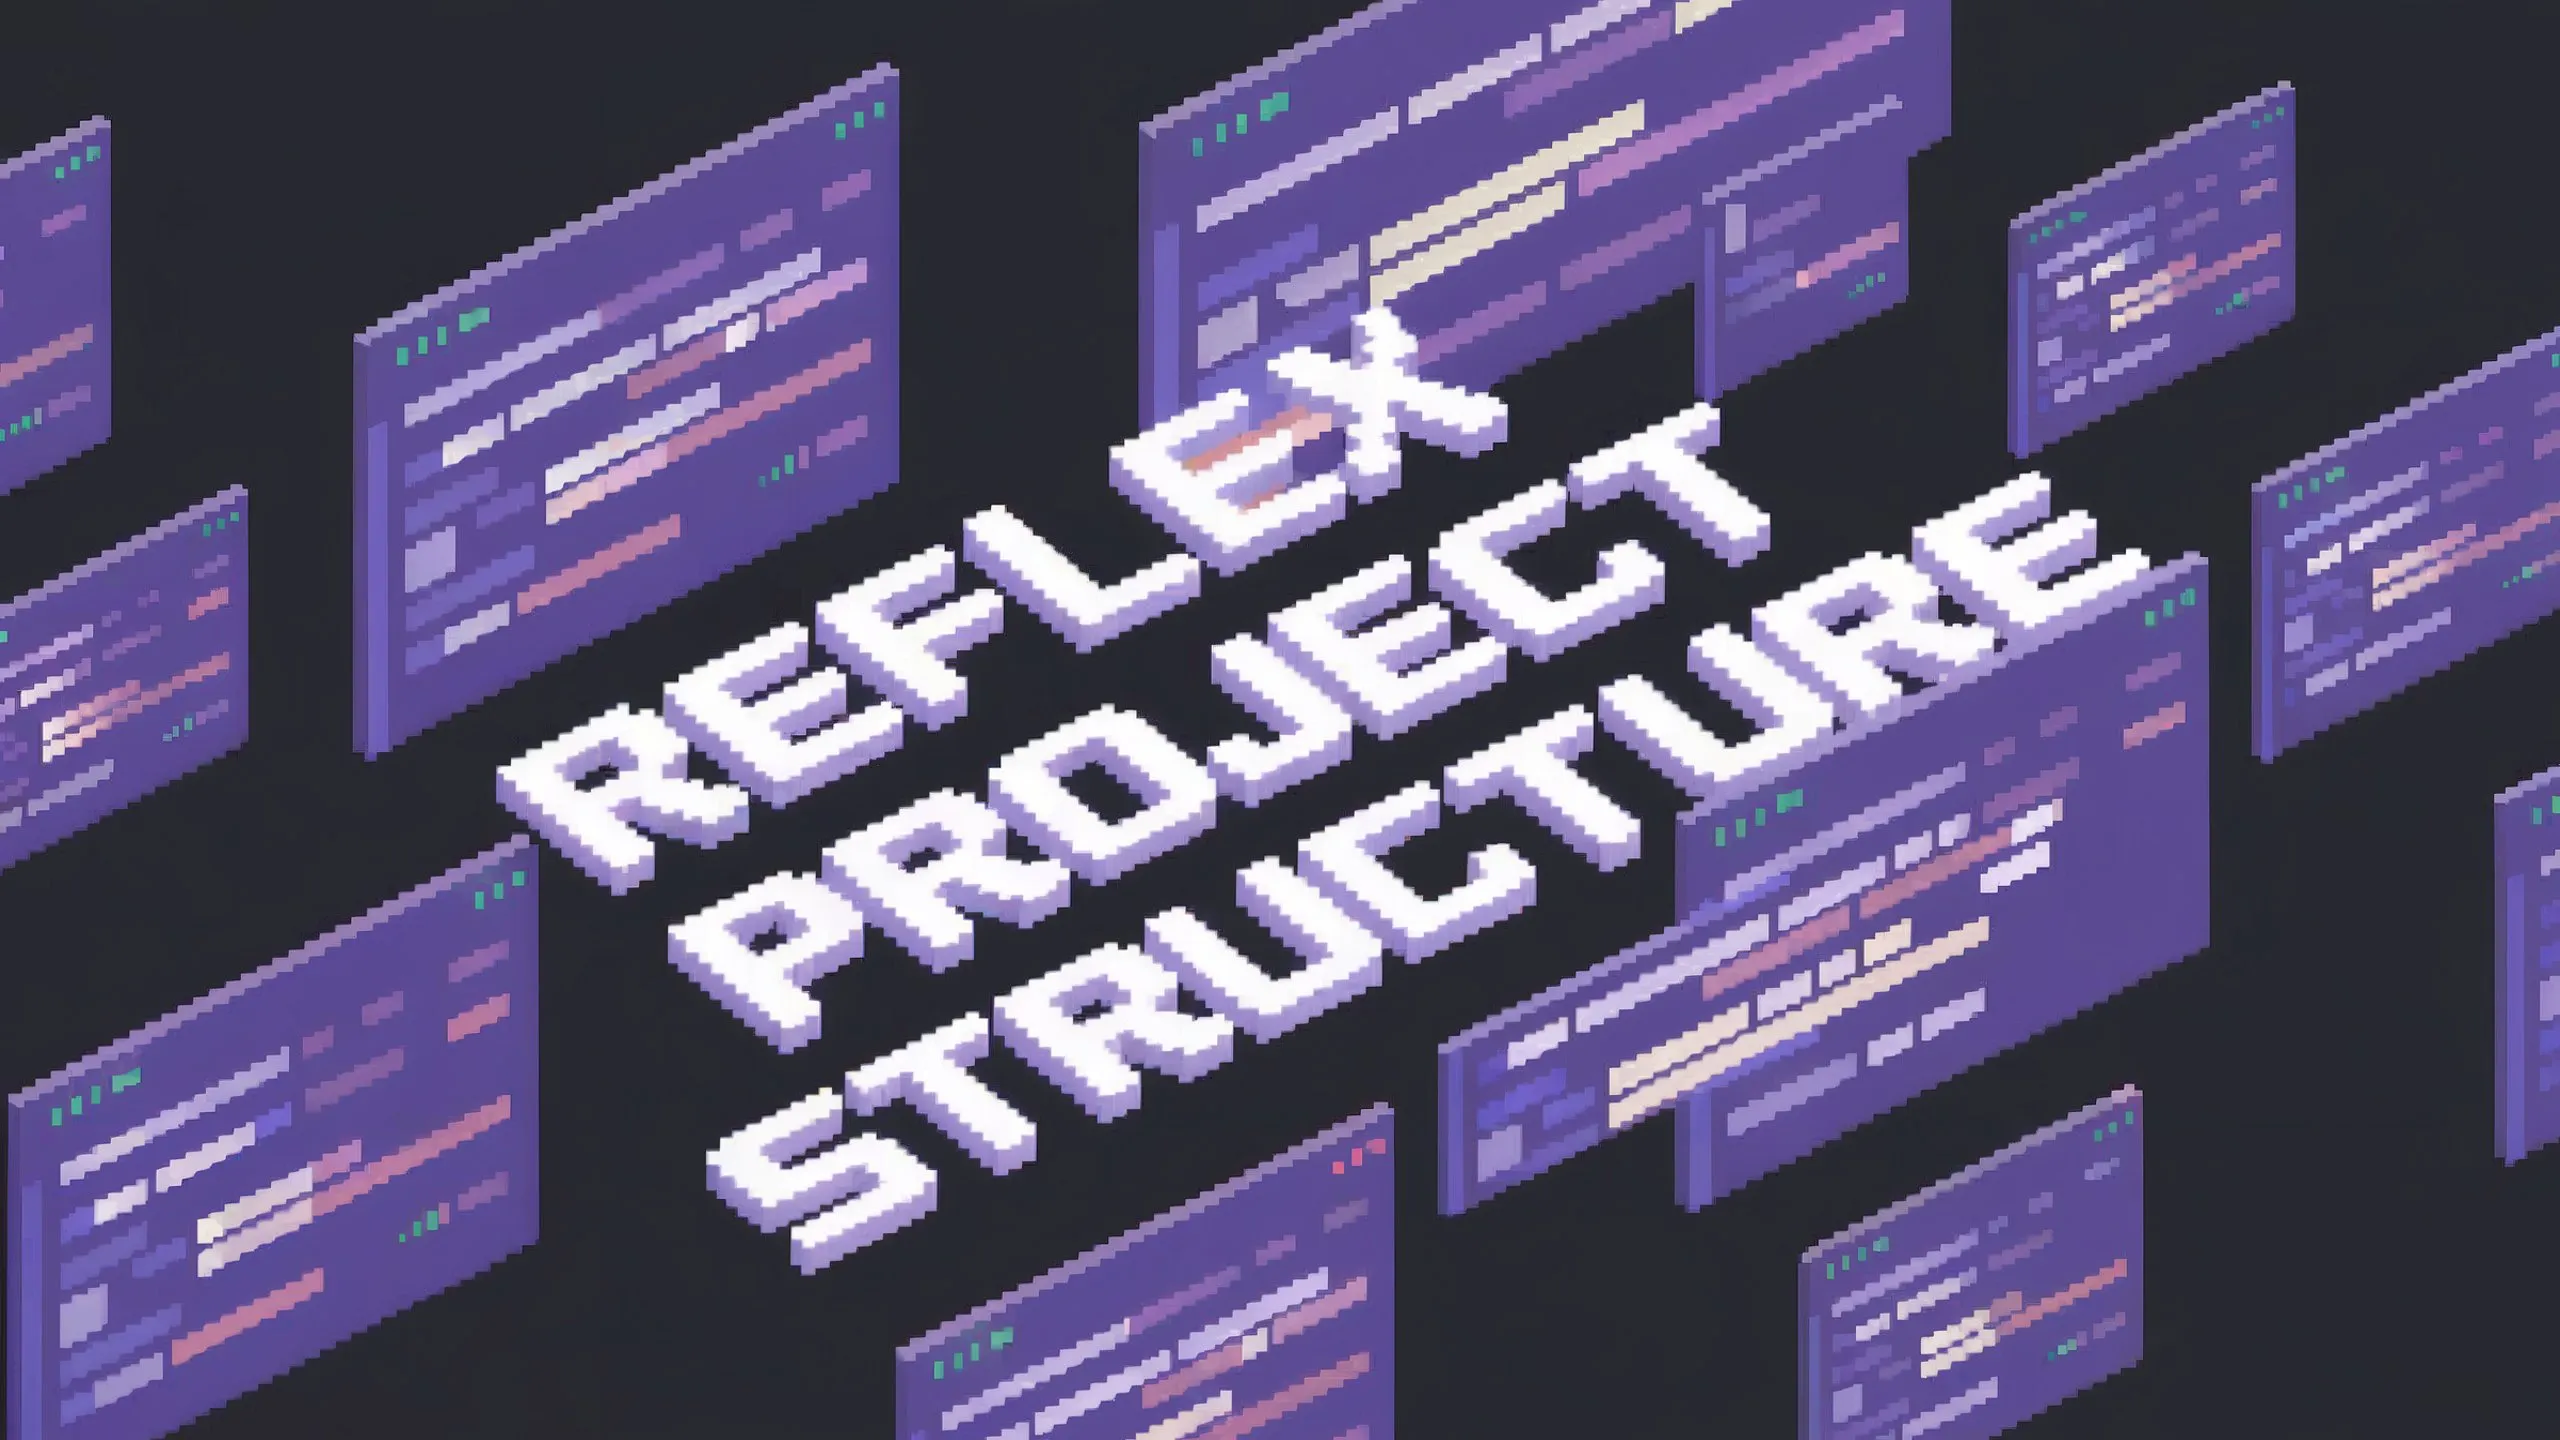
So your Reflex app is getting large? Here's practical advice on project structure, organization, and layout patterns for scaling Python web apps.
