


Implementing Sign In with Google
Learn how to wrap a third-party auth component and integrate Google Sign-In into your Reflex app. Step-by-step guide with code examples.
 Masen Furer
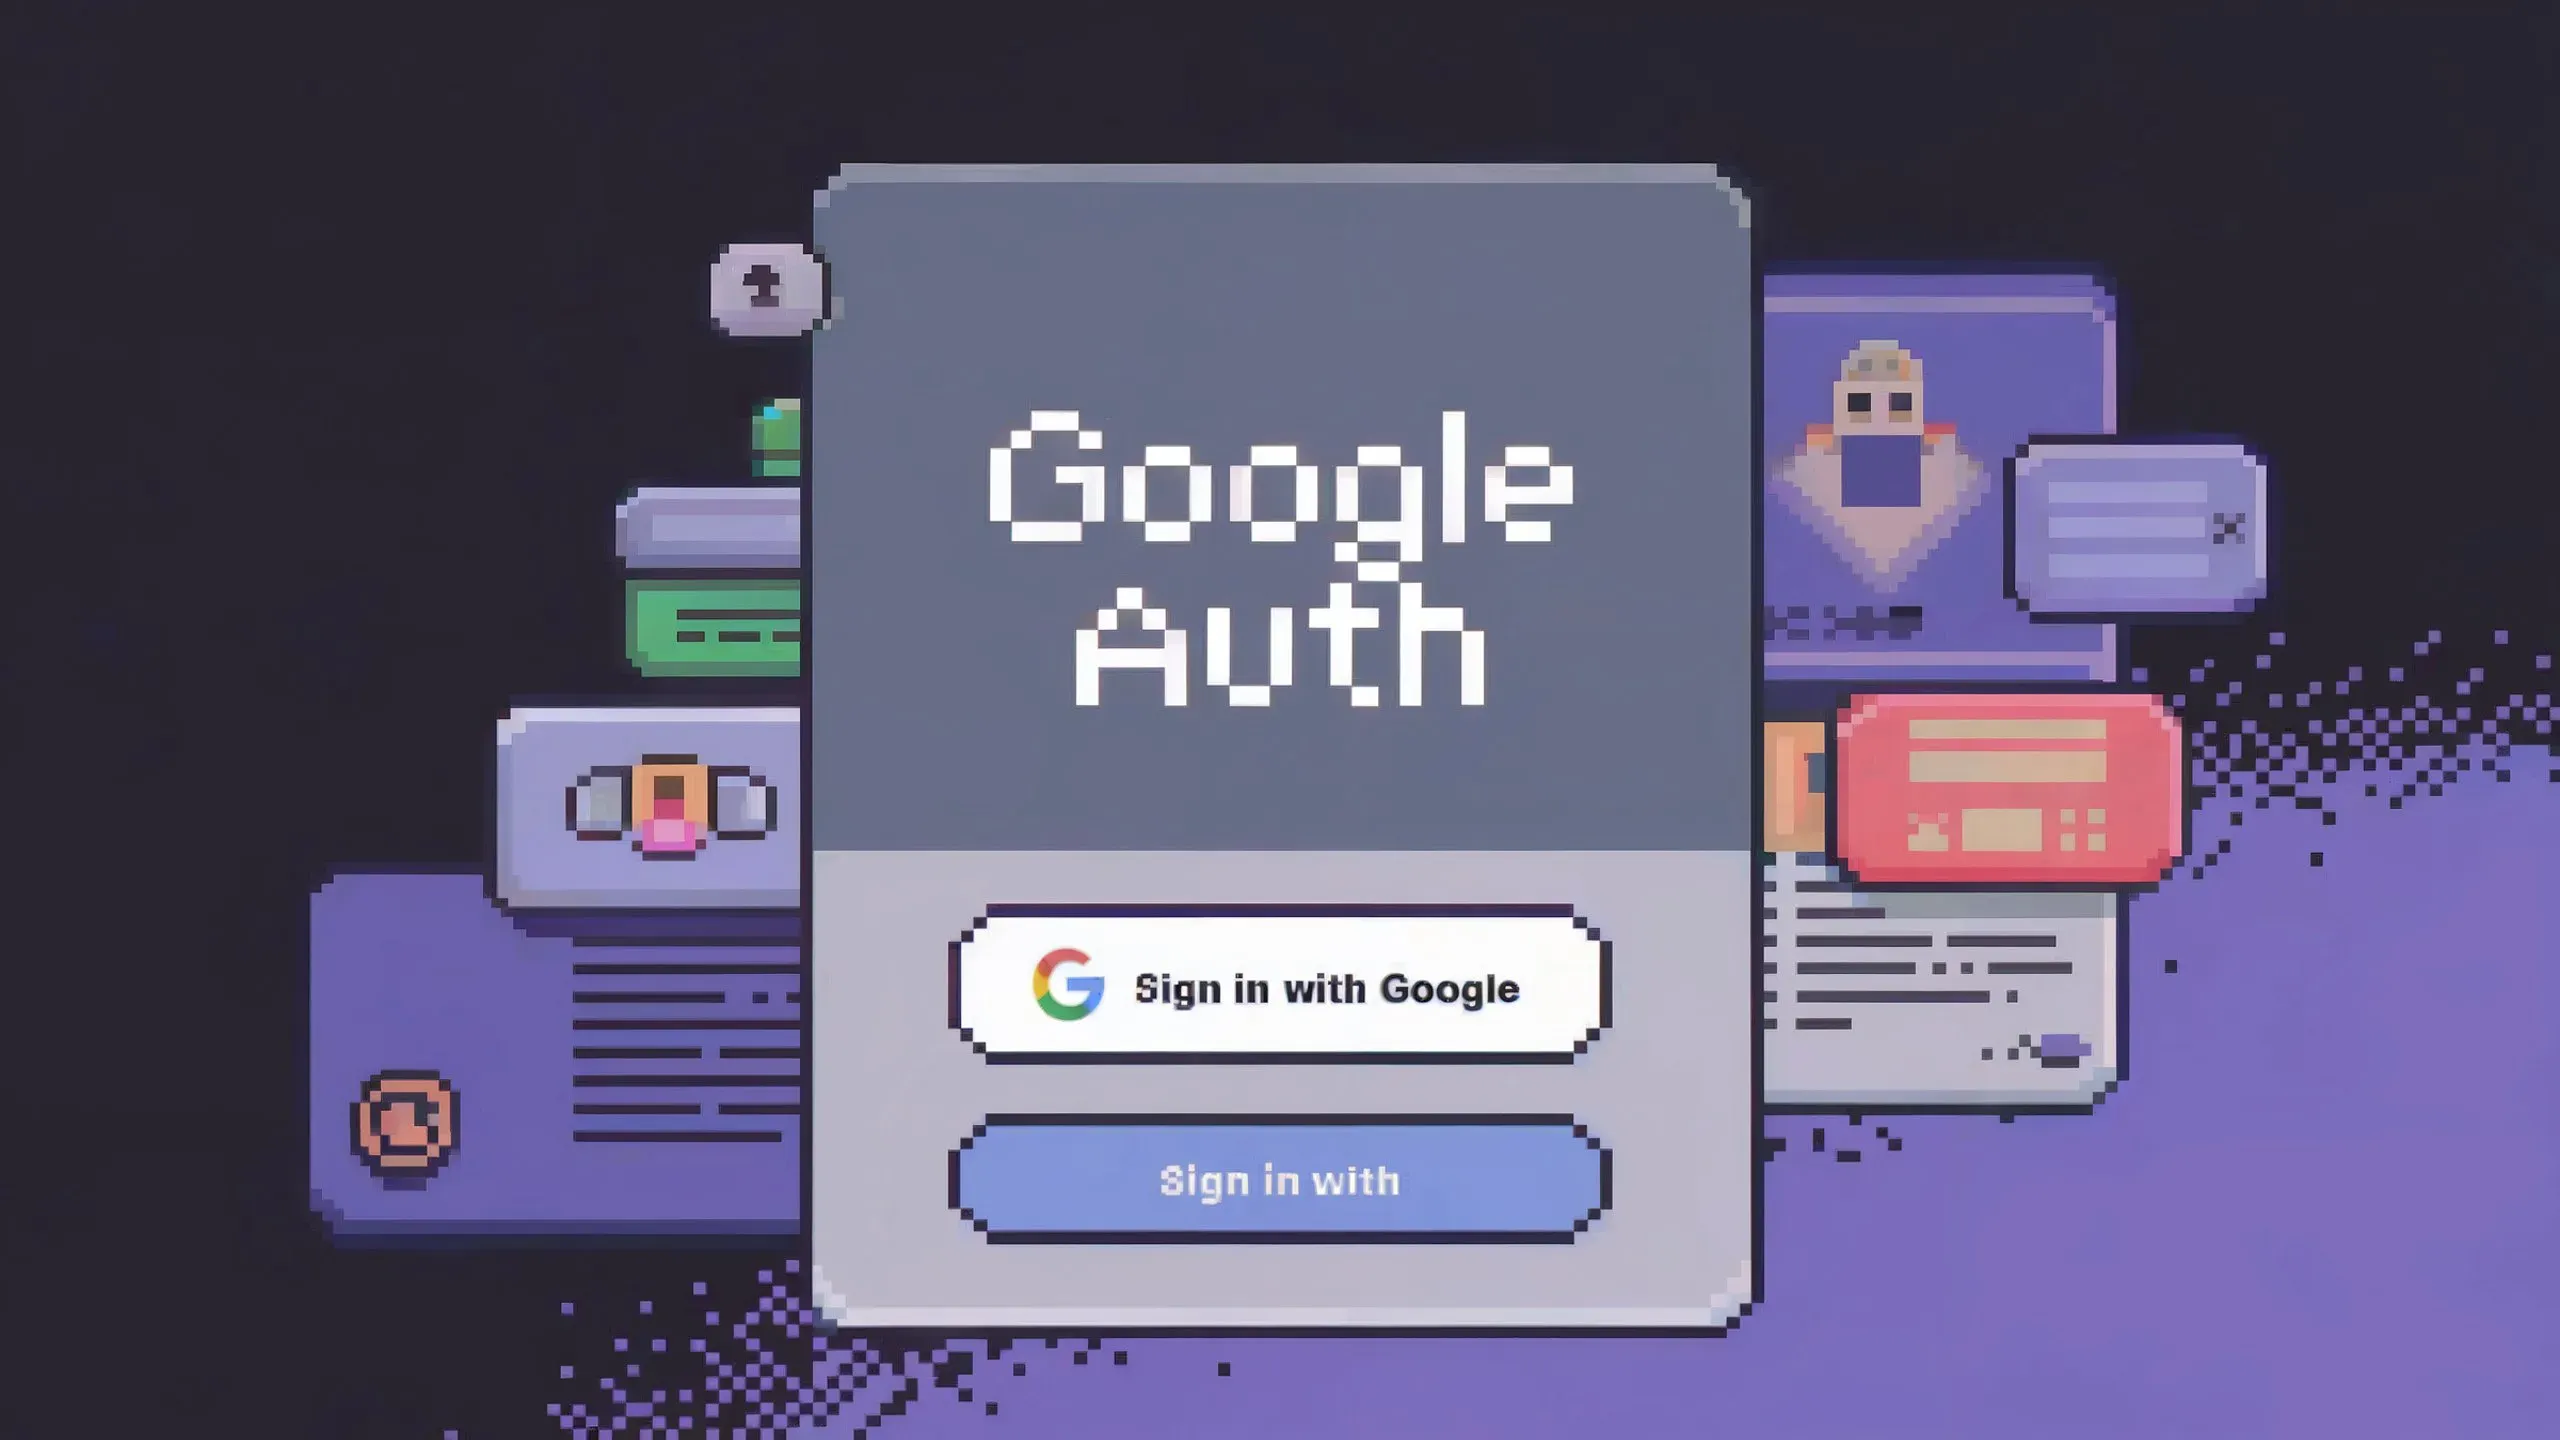
Almost any non-trivial web app needs a way to identify and authenticate users,
but Reflex does not provide this functionality out of the box because there are
way too many different ways to approach the problem. Thanks to the plethora of
existing React components for performing auth, a wrapper can be created to
include most third-party auth solutions within a Reflex app.
In this post, I'll walk through how I set up a Google API project and wrapped@react-oauth/google to provide Sign In with Google functionality in my Reflex
app.
Create a Google OAuth Client ID
Head over to
https://console.developers.google.com/apis/credentials
and sign in with the Google account that should manage the app and credential tokens.
- Click "Create Project" and give it a name. After creation the new project should be selected.
Click "Configure Consent Screen", Choose "External", then Create.
- Enter App Name and User Support Email -- these will be shown to users when logging in
- Scroll all the way down to "Developer contact information" and add your email address, click "Save and Continue"
Click "Add or Remove Scopes"
- Select "Email", "Profile", and "OpenID Connect"
- Click "Update", then "Save and Continue"
- Add any test users that should be able to log in during development.
From the "Credentials" page, click "+ Create Credentials", then "OAuth client ID"
- Select Application Type: "Web Application"
- Add Authorized Javascript Origins:
http://localhost,http://localhost:3000,https://example.com(prod domain must be HTTPS) - Click "Save"
- Copy the OAuth "Client ID" and save it for later. Mine looks like
309209880368-4uqd9e44h7t4alhhdqn48pvvr63cc5j5.apps.googleusercontent.com
Wrap @react-oauth/google
The @react-oauth/google
package provides a React component that handles all of the interaction with
Google's OAuth API. It has rich functionality and many options, but for the
purposes of this post, we will only wrap the props needed to get basic login
working.
GoogleOAuthProvider
The GoogleOAuthProvider component is responsible for downloading Google's SDK
and supplying the Client ID.
Create a new file in your app directory, react_oauth_google.py.
GoogleLogin
The GoogleLogin component renders the familiar "Sign in with Google" button.
Since we will use the default configuration, no props are needed, however the
event trigger does need to be defined so our Reflex app is able to get the token
after logging in.
Define the following wrapper in the same react_oauth_google.py.
The on_success trigger is defined to pass its argument directly to the Reflex
event handler.
Handling the Token
An event handler will be used to receive the token after a successful login.
Critically, the token must be verified and decoded to access the user
information it contains.
google-auth
The simplest way to verify the token is to use Google's own google-auth python
library. Add google-auth[requests] to your app's requirements.txt and install it withpip install -r requirements.txt.
Add the necessary imports to the module where your app State is defined and
set the CLIENT_ID saved earlier, as it is needed to verify the token.
on_success
The on_success trigger is fired by GoogleLogin after a successful login, and it contains the id_token that provides user information. For now, this event handler will verify the token and dump its contents to the console to verify that it is working.
Logging In
With this minimal functionality in place, it should be possible to log in with
one of the test accounts defined earlier on the Consent Screen configuration.
Add the GoogleOAuthProvider and GoogleLogin components linked with the
previously defined CLIENT_ID and State.on_success event handler to test the
functionality so far.
After a successful login, you will see the decoded JSON Web Token(JWT) with user profile information displayed in the terminal!
Saving the Token
The GoogleLogin component does NOT store the token in any way, so it is up to
our app to store and manage the credential after login. For this purpose, we
will use an
rx.LocalStorage Var in the
State that is set in theon_success event handler.
Additionally, an rx.var will be used to verify and return the decoded
token info for the frontend to use.
Finally, a new logout event handler will be defined to clear out the saved token
and effectively log the user out of the app.
ExpandCollapse
Checking Token Validity
For convenience, a token_is_valid computed var can be defined to return a
simple bool if the token is valid or not. This is specifically not a
cached var because it should be re-evaluated every time it is accessed, in
case the expiry time has passed.
Rendering User Info
With the decoded token data provided in the state, we can render the user's
name, email, avatar, and provide a logout button.
Requiring Login
Now that the user's token is stored in the state, its absence can be used to
prompt for login on protected pages. For this purpose, we will define a
decorator that can be applied to any page function which shows a login button if
the user token is not valid.
First define the login component that will be shown to unauthenticated users.
Then define the decorator that will wrap page components.
Protecting Content
Content that should never be available to unauthenticated users, must be
returned from a computed var that checks token validity.
Show Login Button
The decorator may be applied to any function that returns an rx.Component to
give the user a chance to authenticate.
Putting the Pieces Together
The production code for this example has been published as a reuable third-party
component, reflex-google-auth
and can be used directly in any Reflex app.
react_oauth_google.py
google_auth.py
ExpandCollapse
Demo
🔐 Happy Building 🚀
-- Reflex Team
More Posts

New features coming in Reflex v0.4.0—improved styling, better components, and enhanced developer experience. See what's new in this release.

Use Reflex's new core graphing feature to build a live streaming graphing app. Real-time charts, custom visualizations, and Python-native APIs.

Learn what background tasks are and how they help you build better Reflex apps. Run long-running jobs, send emails, and process data without blocking the UI.
